
section 1 of 6
Understand Read&Write
Read&Write is a literacy support tool that helps educators support diverse learners, while giving students the tools to read, write, and express themselves with confidence.
Unlocking the potential of every learner
Read&Write is designed to support a wide range of learners in the classroom. Built with neuroinclusion in mind, it’s especially beneficial for students with dyslexia, ADHD, autism, and multilingual learners.
Read&Write helps all students to:
Process information in ways that suit them
Understand unfamiliar words
Plan and proof their writing
Work more independently
Access content in multiple languages
Improve study skills, focus and concentration
Why teachers use Read&Write
In every classroom, students have different needs but it’s not always possible to support everyone at the same time. Read&Write gives students the tools to access learning independently, so you can spend more time teaching while Read&Write helps remove barriers to learning.
Using Read&Write in your classroom can help you to:
- Improve reading fluency, engagement, and comprehension across subjects
- Reduce cognitive load so students can focus on understanding
- Support inclusive and accessible learning environments
- Build student confidence and independence
- Support reading, writing, and vocabulary development
A quick look at Read&Write
Watch this short introduction to how Read&Write supports teaching and learning.

Did you know?
With Read&Write, educators also have access to a subset of features in OrbitNote, a flexible PDF and digital document tool that helps students annotate, highlight, type, draw and interact with classroom materials.

Read&Write and OrbitNote work especially well together for:
Accessible PDFs and worksheets
Digital annotation and highlighting
Independent study and revision
Supporting reading comprehension across digital resources
Want to see Read&Write in action?
Try our free interactive demo to see how Read&Write can support your students and workflows.
section 2 of 6
Set up Read&Write
Let's get you set up and ready to use Read&Write in the classroom.
What you'll need
- A school or educator login
- Access to your school's OS or browser
(Google Chrome is recommended as a starting point)
Get started with a few simple steps
1 Install Read&Write
Install the Read&Write extension for Google Chrome.
2 Sign in
- Open the extension
- Sign in using your school or educator account
3 Open the toolbar
- Click the Read&Write icon in your browser
- The toolbar will appear on your screen
4 Pin for easy access
Pin the extension so it’s always visible in your browser.
Having issues getting started?
Check the extension is installed and pinned. You should see the Read&Write icon in the top-right corner of Chrome. If it's not pinned, click the puzzle-piece icon and pin Read&Write to the toolbar.
Confirm your school account has access to Read&Write. Contact your IT administrator to check account permissions.
Contact your IT administrator to whitelist the Read&Write extension for your school's managed devices.
The available toolbar varies by licence and platform. If you're on a Free for Teachers account, some premium tools (such as Talk&Type) won't appear. Check the toolbar guide in your platform's quick reference.
Using PDFs or digital worksheets?
OrbitNote can help students complete assignments digitally, annotate documents and interact with classroom materials more independently.
Still need help?
Contact our team at Everway and we’ll be happy to support you in getting set up with Read&Write.
Don’t have access yet?
section 3 of 6
Read&Write core features
Learn the tools you’ll use most in your classroom. You don’t need to know everything yet, just start with introducing a few core tools that make the biggest impact for students and their needs.
Reading and fluency

Text-to-Speech
Text-to-Speech reads text aloud while highlighting words, helping students follow along and better understand what they’re reading.
Benefits:
- Reads text from documents, websites, and PDFs
- Supports comprehension with dual color highlighting
+ 4 more

Screenshot Reader
Convert text embedded within pictures, diagrams, tables, charts, maps, graphs, etc., into accessible text that is read aloud.
Benefits:
- Increases accessibility of embedded text.
- Enables readability of advertisements, tables, charts, maps, photo captions, banners, etc.

Screen Masking
Enable a tinted window screen with a customized color that moves with your pointer and improves your eye focus.
Benefits:
- Improves focus and eye gaze
- Reduces eye strain
- Reduces visual distractions around text

Audio Maker
Convert text to an MP3 audio file that can be saved or shared for future use on any mobile audio device.
Benefits:
- Increases accessibility of read-aloud text in any environment (listen to text anytime, anywhere).
- Supports memorizing formulas, poems, speeches, etc.

Practice Reading Aloud
Capture reading accuracy and fluency on a recording device as students practice reading aloud.
Benefits:
- Enables students to practice and record themselves reading selected text, listen to their recording, and send it to their teacher
- Supports reading accuracy, fluency, speech memorization, etc.
Comprehension and vocabulary

Dictionary and Picture Dictionary
Dictionary tools provide instant definitions, with the option to hear words read aloud or see visual supports.
Benefits:
- Defines unfamiliar words with audio support
- Builds vocabulary using text and images
+ 6 more

Translator
Translate single word text into 90+ different languages.
Benefits:
- Increases efficiency of single word translation when reading text
- Enhances the Picture Dictionary feature to support word meaning and text comprehension

Collect Highlights
Mark and categorize important information using a color coded system. Gather color coded highlights into a new resource to promote higher-level thinking.
Benefits:
- Facilitates summarization, categorization and higher-order thinking
- Improves organization of information to support writing tasks and research
- Increases efficiency of note taking and study guide creation

Vocabulary List
Create a graphic organizer with a list of vocabulary words, definitions, and picture examples.
Benefits:
- Reduces planning time by creating vocabulary resources efficiently
- Provides differentiated support with a resource that can be easily modified to include or exclude words, definitions, images, and notes

Web Search
Launch a web search for any word, phrase, or topic to support word meaning and understanding of text.
Benefits:
- Builds background knowledge efficiently
- Supports research and writing tasks
- Reduces open-ended web searches and distractions

Simplify Page
Remove distracting images and create a simplified version of text with customized color, font, and line spacing.
Benefits:
- Removes clutter from webpages and reduces distractions from images, advertisements, hyperlinks, etc.
- Improves reading focus and efficiency
- Enables ability to copy articles into a Google Doc without text disruption from embedded images
- Supports differentiation with multiple levels of text simplification and summarization

Rewordify
Replace complex vocabulary with simpler, easier to understand words and phrases.
Benefits:
- Improves readability and comprehension for all literacy levels
- Reduces complex, difficult words without changing the meaning of the text
- Provides differentiated reading opportunities on the same topic
Written expression

Prediction
Help students plan, write, and edit their work with greater confidence.
Benefits:
- Defines unfamiliar words with audio support
- Builds vocabulary using text and images
+ 3 more

Talk&Type
Turn spoken words into text by dictating into a microphone.
Benefits:
- Increases participation opportunities and alternate format for writing tasks
- Increases ability to get thoughts on paper more easily and efficiently

Check It
Proofread written text by checking writing conventions.
Benefits:
- Supports development of sentence structure, spelling, and grammar
- Promotes independence with writing tasks as students check their own writing errors and view suggestions
- Provides opportunities to see repeated errors

Voice Notes
Record a quick (one minute or less) audio file and insert it into a document.
Benefits:
- Reinforces note taking skills through an alternate format
- Increases ability to provide student feedback and reminders without relying on ability to accurately read feedback/reminder notes
Explore features by platform


How to introduce these tools to students
Start small and build confidence for both you and your students.
Begin with a clear goal. Think about what your students need most support with, reading, writing, or understanding vocabulary, and introduce one tool that directly supports that need.
Using real classroom content helps students immediately see the value.
A simple way to get started
- Model one tool in context
Demonstrate how it works using the same content students are already working on - Give students a quick opportunity to try it
Set a short, meaningful task so they can apply it straight away - Keep it focused
Stick to one or two tools at a time to avoid students feeling overwhelmed - Build gradually
Introduce more features over time as confidence grows
Example: First lesson idea
For a reading activity, model how to use Text-to-Speech to read a passage aloud. Ask students to follow along and highlight key points, then discuss how it supported their understanding. This keeps the introduction simple, practical, and relevant.
Common mistakes to avoid
It’s easy to try to do too much too quickly. Introducing too many tools at once can overwhelm students and reduce the impact of each feature.
- Trying to teach everything at once
Focus on the tools that match your lesson goal - Using tools without context
Always connect them to a real task or assignment - Skipping modelling
Students need to see how and when to use the tool - Not allowing time to practice
Confidence comes from hands-on use
section 4 of 6
Use Read&Write in the classroom
Introducing Read&Write is just the beginning. The biggest impact comes when it’s used regularly and becomes part of everyday teaching and learning.
You don’t need to redesign your lesson. Simply layer Read&Write into activities you already run.
Where it fits in your classroom
Read&Write works best when it’s used in real learning moments:
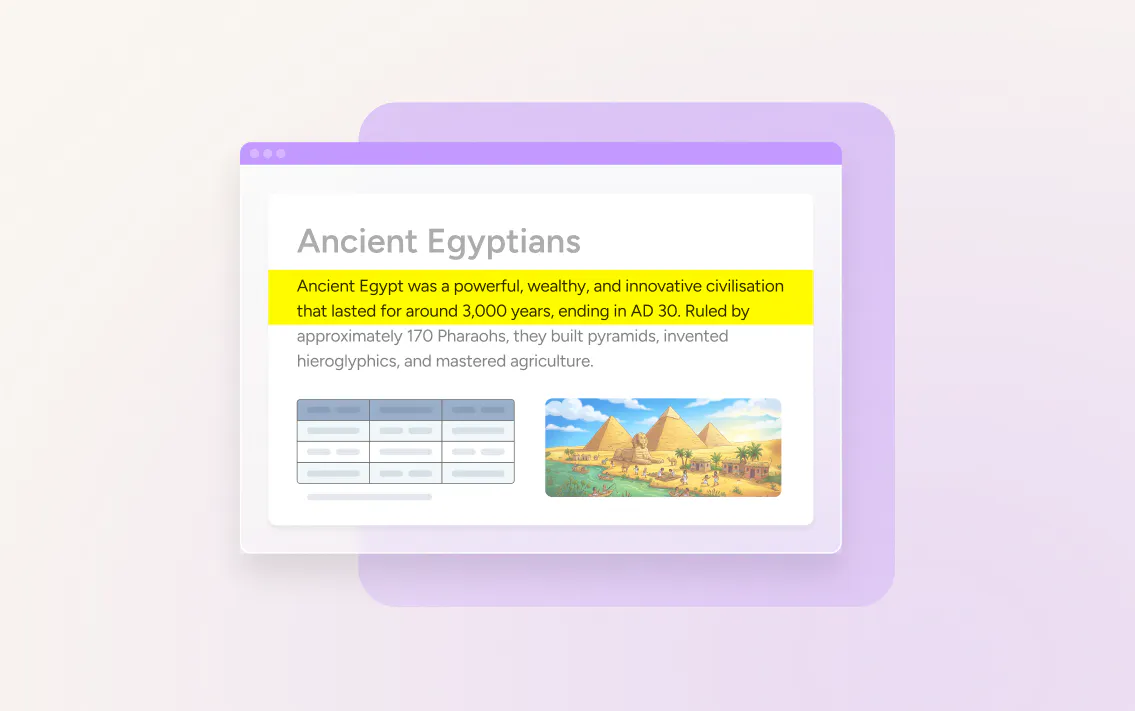
During reading
Support comprehension and fluency using Text-to-Speech, Screen Masking, and Dictionary tools


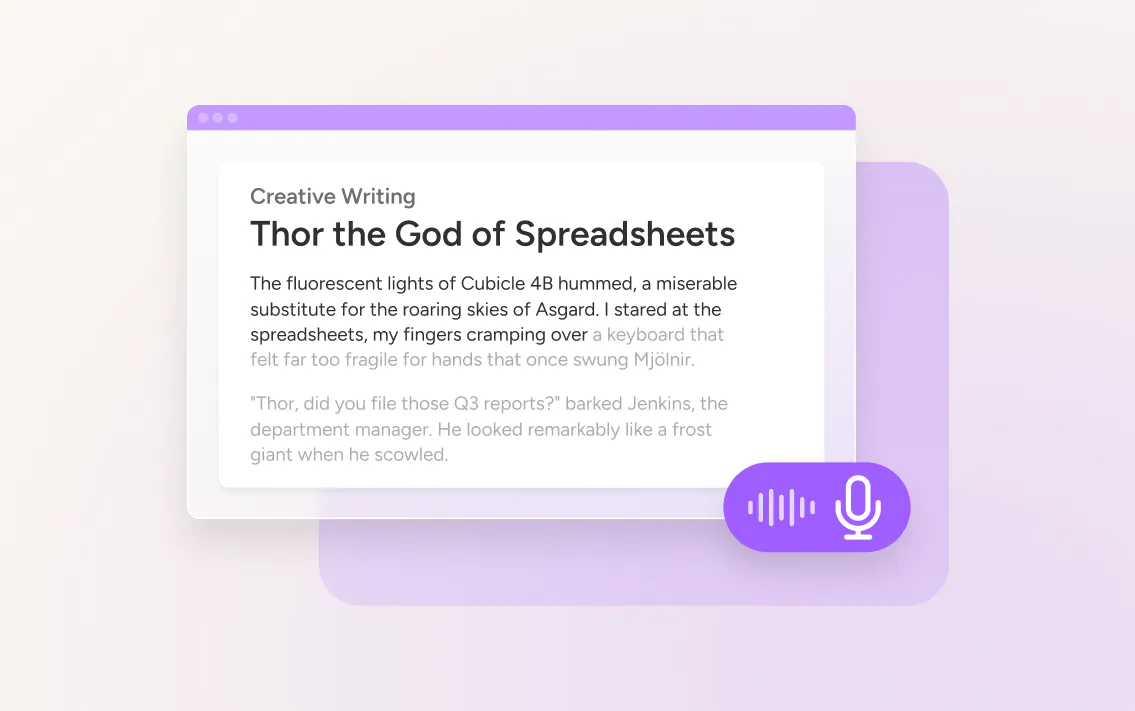
During writing
Help students express ideas using Prediction and Talk&Type


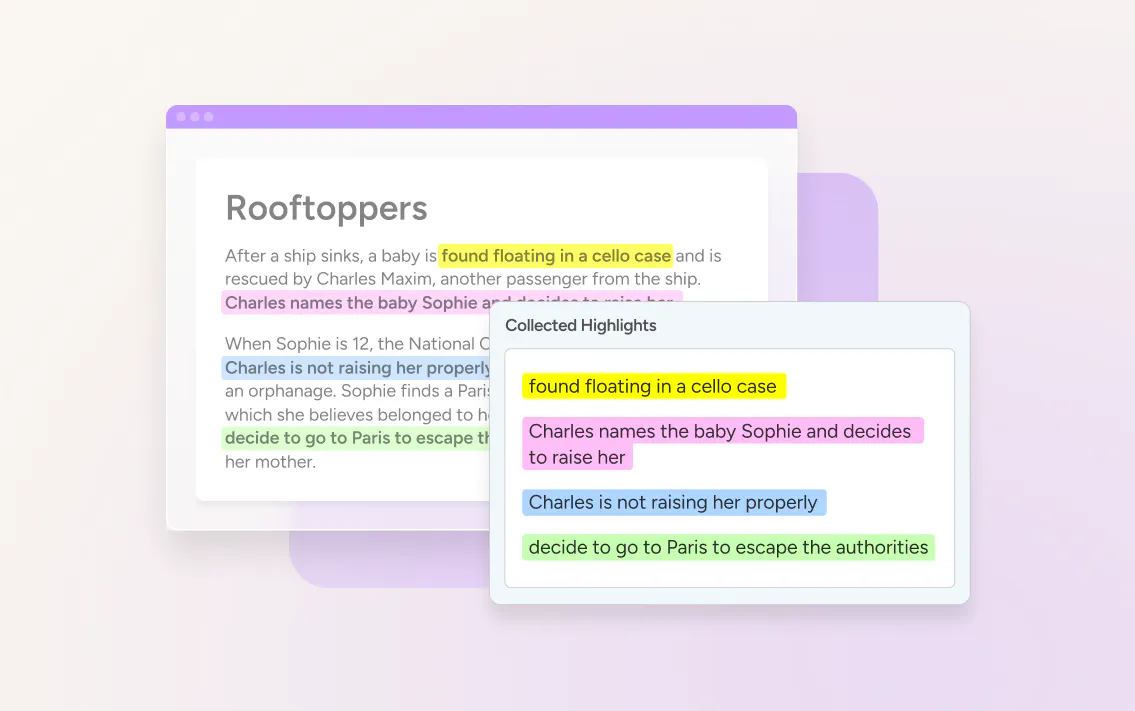
During research and study
Help students organize information using Collect Highlights

Read&Write classroom activities to try
These examples show how Read&Write can be used in different lesson contexts.
Supporting reading comprehension (elementary and middle school)
Scenario
Use Read&Write during a reading activity to support both understanding and focus.
1 Before
Start by modelling Text-to-Speech with a short passage. As the text is read aloud, students can follow along using the Screen Masking reading pane or change the color of their screen.
2 During
You can demonstrate how changing the color or adding the reading pane can help different students focus more effectively.
3 After
After reading, ask if there are any unfamiliar words students didn’t understand. Then show students how to use the Dictionary or Picture Dictionary to quickly highlight that word and check the meaning.
Once students understand how the tools work, give them a chance to try it themselves. For example, they could:
- Listen to a section of text using Text-to-Speech
- Adjust the voice, speed, or Screen Masking settings
- Use the Dictionary tools to explore unfamiliar words
To extend the activity, ask students to identify new or important words and add it to a Vocabulary List. This helps reinforce understanding and gives them a resource they can revisit later.
Supporting reading comprehension (high school and higher education)
Scenario
Use Read&Write during a research or extended writing task to help students organize ideas and develop more structured responses.
1 Before
Start by introducing a topic and providing students with a source (e.g. article, website, or digital text). Model how to use Text-to-Speech to support reading longer or more complex content, especially for students who may struggle with focus or comprehension.
2 During
As students read, demonstrate how to use Highlighting tools to identify key information. You might show how to:
- Use different colors for main ideas, supporting details, or quotes
- Stay focused on the task by actively selecting important content
- Clear Highlights to start again
3 After
Once students have gathered information, show them how to use Collect Highlights to pull their notes into one place. This creates a structured set of ideas that they can use and come back to.
Students can then begin writing, using:
- Prediction to support sentence structure and flow
- Talk&Type if they prefer to speak their ideas first
Before submitting their work, encourage students to use Check It to review spelling, grammar, and clarity independently.
Every classroom is different and your students may have needs that go beyond the examples above.
Explore how Read&Write can support a range of learning needs. Supporting students in exams or students with dyslexia, autism, ADHD, and other learning differences
If you’re not sure which features will work best for your students, check out our interactive Toolmatcher to discover which Read&Write or OrbitNote features best suit your student’s needs.
Ready-made lessons
For a quick activity, try some of the resources below.
section 5 of 6
Build confidence and usage
Using Read&Write in a single lesson is a great first step. The real impact comes when it becomes part of everyday teaching and learning.
As students become more familiar with the tools, they begin to use them more independently, reducing reliance on teacher support and increasing confidence.
Work with your colleagues
Read&Write is most effective when it’s used consistently across classrooms and subjects.
- Share strategies and classroom examples
- Align on how tools are introduced to students
- Build confidence as a team
Keep building over time
As confidence grows, you can introduce additional tools, explore more advanced features, and adapt usage for different student needs.
section 6 of 6
Troubleshooting and support
If something isn’t working as expected, help is available. Most issues can be resolved quickly with the right guidance.
Find answers quickly
Knowledge Base
Search FAQs, how-to articles, and troubleshooting guides
Common issues
If you’re getting started, you might experience:
- The toolbar not appearing
- Difficulty signing in
- Features not working as expected
These are usually resolved with simple setup checks or access permissions.
Before you contact support
Try these quick checks:
- Make sure Read&Write is installed and pinned in your browser
- Sign out and back in again
- Check you’re using your school or educator account
- Confirm access with your school or IT administrator
Still having trouble getting started?
Still need help?
If you’re still having issues, our team is here to help.